Climate Tracker with Ruuvi Tag
21 Aug 2023 • Programming
As there is currently a heatwave rolling over Switzerland, I wanted to get detailed information on temperature and humidity. While researching some solutions to automatically record these values for multiple places wirelessly, I came across Ruuvi Tags.
In the following tutorial I will outline the steps needed to create a Raspberry Pi based temperature, humidity, and air pressure recorder including a nice graphical front-end. There are already plenty of similar tutorials online but most are either incomplete or a few years old (i.e. following them will get you stuck at some point), hence I wanted to document my journey with the Ruuvi Tags.
Settings Up the Ruuvi Tags
The Ruuvi Tags are trivial to set up. Merely remove the battery pull tag and they should start to broadcast. Using the Ruuvi Station App I was able to test them immediately.
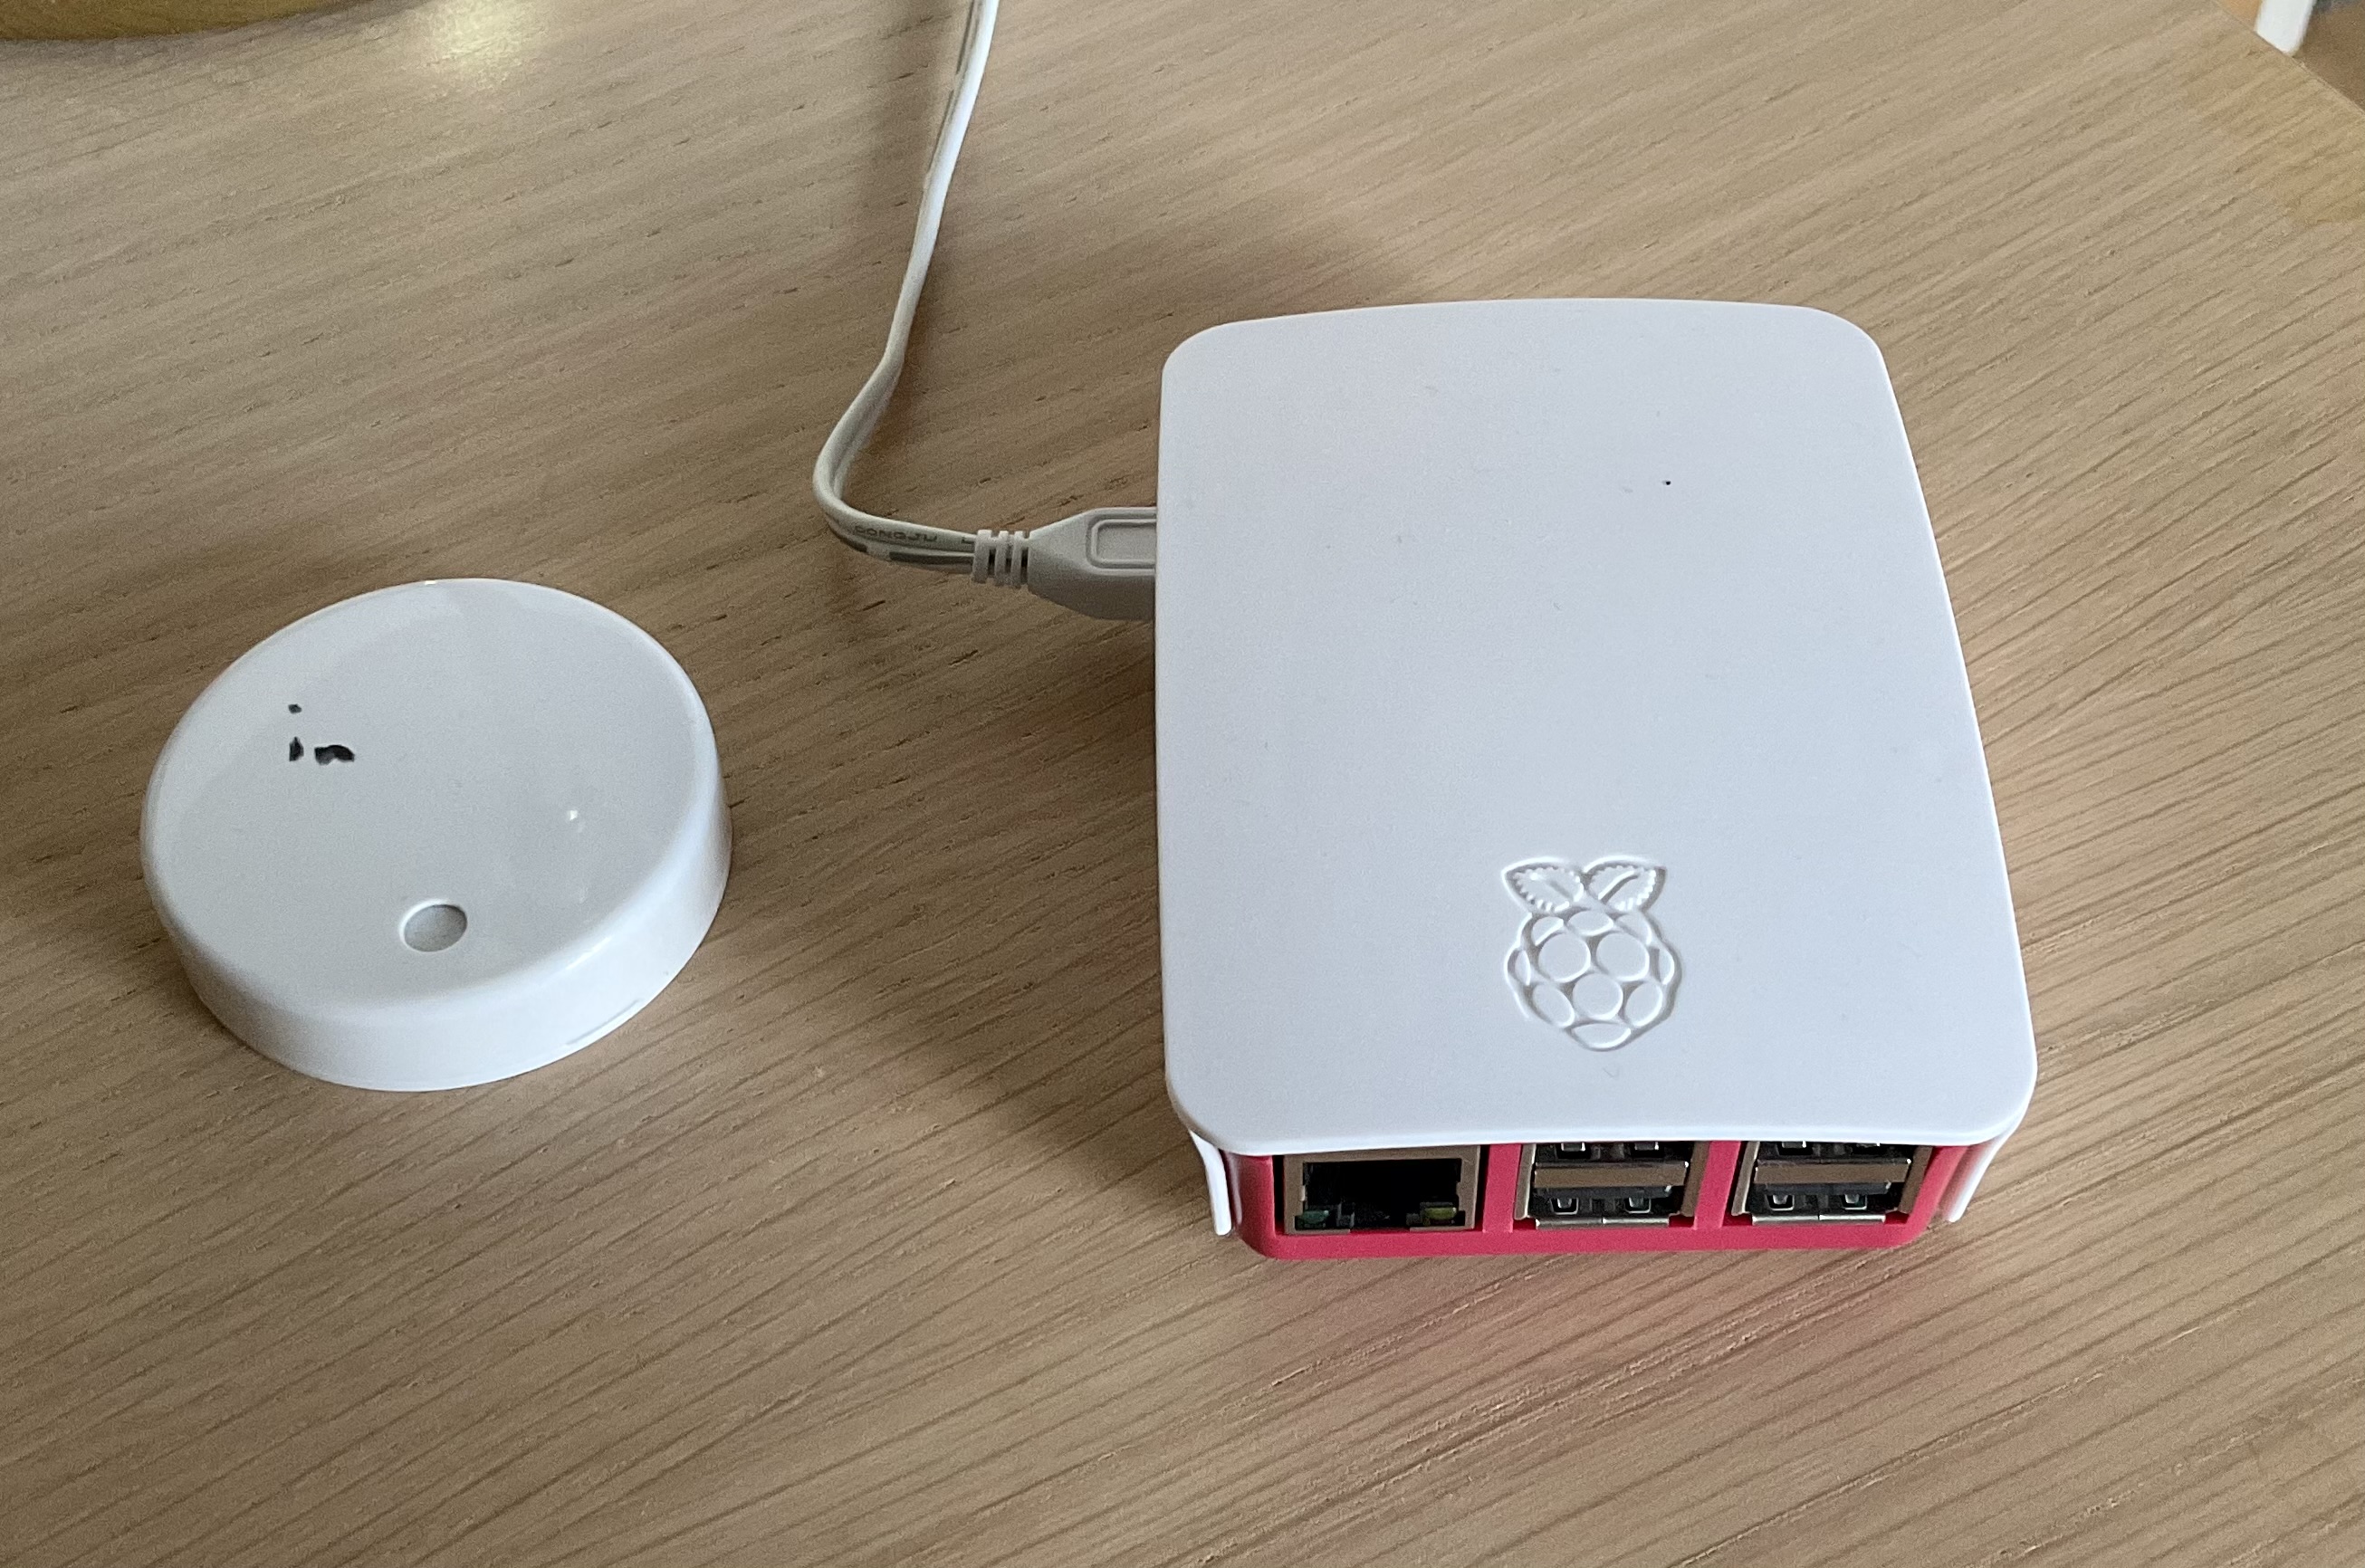
In the Image Below, you can see a Ruuvi Tag next to the Raspberry Pi used for this project.
Getting the Raspberry Pi Ready
Using the Raspberry Pi Imager Raspberry Pi Imager I downloaded Raspberry Pi OS Lite, the one without a GUI and only a console. While using the Raspberry Pi imager, I used the advanced options to:
- Set the hostname of the Raspberry Pi to
climate.local. - Allowed SSH access with password authentication.
- Configured the Wi-Fi
After writing the image to the SD card, I put it in the Raspberry Pi and connected it to the power.
Installing the Necessary Software on the Raspberry Pi
First we update our Raspberry Pi and install some general dependencies, for this we first connect via SSH (assuming the Raspberry Pi is now connected to your local network).
The command for this is
ssh <username>@<hostname> which in my case
would be ssh david@climate.local.
After connecting to the Raspberry Pi we can go ahead:
sudo apt update
sudo apt upgrade
sudo apt install build-essential git
Now we can go ahead and add the repository for Grafana (instead of blindly copying these commands, check if they are still current: https://grafana.com/docs/grafana/latest/setup-grafana/installation/debian/)
sudo wget -q -O /usr/share/keyrings/grafana.key https://apt.grafana.com/gpg.key
echo "deb [signed-by=/usr/share/keyrings/grafana.key] https://apt.grafana.com stable main" | sudo tee -a /etc/apt/sources.list.d/grafana.list
Same for InfluxDB (current instructions can be found at https://repos.influxdata.com/)
wget -q https://repos.influxdata.com/influxdata-archive_compat.key
echo '393e8779c89ac8d958f81f942f9ad7fb82a25e133faddaf92e15b16e6ac9ce4c influxdata-archive_compat.key' | sha256sum -c && cat influxdata-archive_compat.key | gpg --dearmor | sudo tee /etc/apt/trusted.gpg.d/influxdata-archive_compat.gpg > /dev/null
echo 'deb [signed-by=/etc/apt/trusted.gpg.d/influxdata-archive_compat.gpg] https://repos.influxdata.com/debian stable main' | sudo tee /etc/apt/sources.list.d/influxdata.list
Now we will install InfluxDB and Grafana
sudo apt update
sudo apt install influxdb grafana
Last but not least, we start them and make sure they are automatically started on system boot:
sudo systemctl start influxdb
sudo systemctl enable influxdb

sudo systemctl start grafana-server
sudo systemctl enable grafana-server
Setting up the Database
You might want to restart your Raspberry Pi first after installing
all the software. Now we enter the InfluxDB. We enter it using the
ìnflux command:
influxNow we can first create a new dataset ‘ruuvi’ and create a new user on this database. Note: replace the password with a password of your choosing.
CREATE DATABASE ruuvi;
CREATE USER "ruuviuser" WITH PASSWORD 'ruuvisuserpassword'
GRANT ALL ON ruuvi TO "ruuviuser"
EXIT
Setting up RuuviCollector
Now we work with the excellent RuuviCollector project. We go ahead and clone it from GitHub
git clone https://github.com/Scrin/RuuviCollectorAs a next step, we can start building RuuviCollector. For this we
give the setup.sh command (1) the address of the InfluxDB
database, the username we have created, the associated password and last
but not least the name of the created database.
Running this command might take a few minutes as it fetches all dependencies and builds the software:
sudo ./RuuviCollector/service-setup/setup.sh -d "http://localhost:8086" -u ruuviuser -p ruuvisuserpassword -n ruuviConnecting it All
To configure Grafana, we open its configuration file in nano:
sudo nano /etc/grafana/grafana.ini Using nano we change the following lines to have it run under
climate.local:3000 on the local network.
...
;domain = climate.local
...
;http_port = 3000
...
Last but not least, we restart the whole Raspberry Pi
sudo rebootConfiguring the Grafana Dashboard
After waiting a bit for the Rapsberry Pi to restart and grafana to
load, we can visit http://climate.local:3000 where we can
log in to grafana using the username admin and the password
admin.
After entering grafana we can click on
adding a new dashboard which will then ask us to configure
a data source first.
We can then select InfluxDB with the connection details we have chosen earlier. In my case, that would be
- Username: ruuviuser
- Password: ruuvisuserpassword
- Database: ruuvi
- URL: http://localhost:8086
We can then go ahead and add visualizations using the
+Add button on the top right of the grafana page.
For example my code to display the temperature looks as follows:
SELECT mean("temperature") FROM "autogen"."ruuvi_measurements" WHERE $timeFilter GROUP BY time($__interval), "mac"::tag fill(null)If you want, you can add a rename by regex from the
transformation tab from the panel creator to replace the
MAC address with e.g. the location of the sensor.
My grafana JSON model can be found here if you want to build off it.
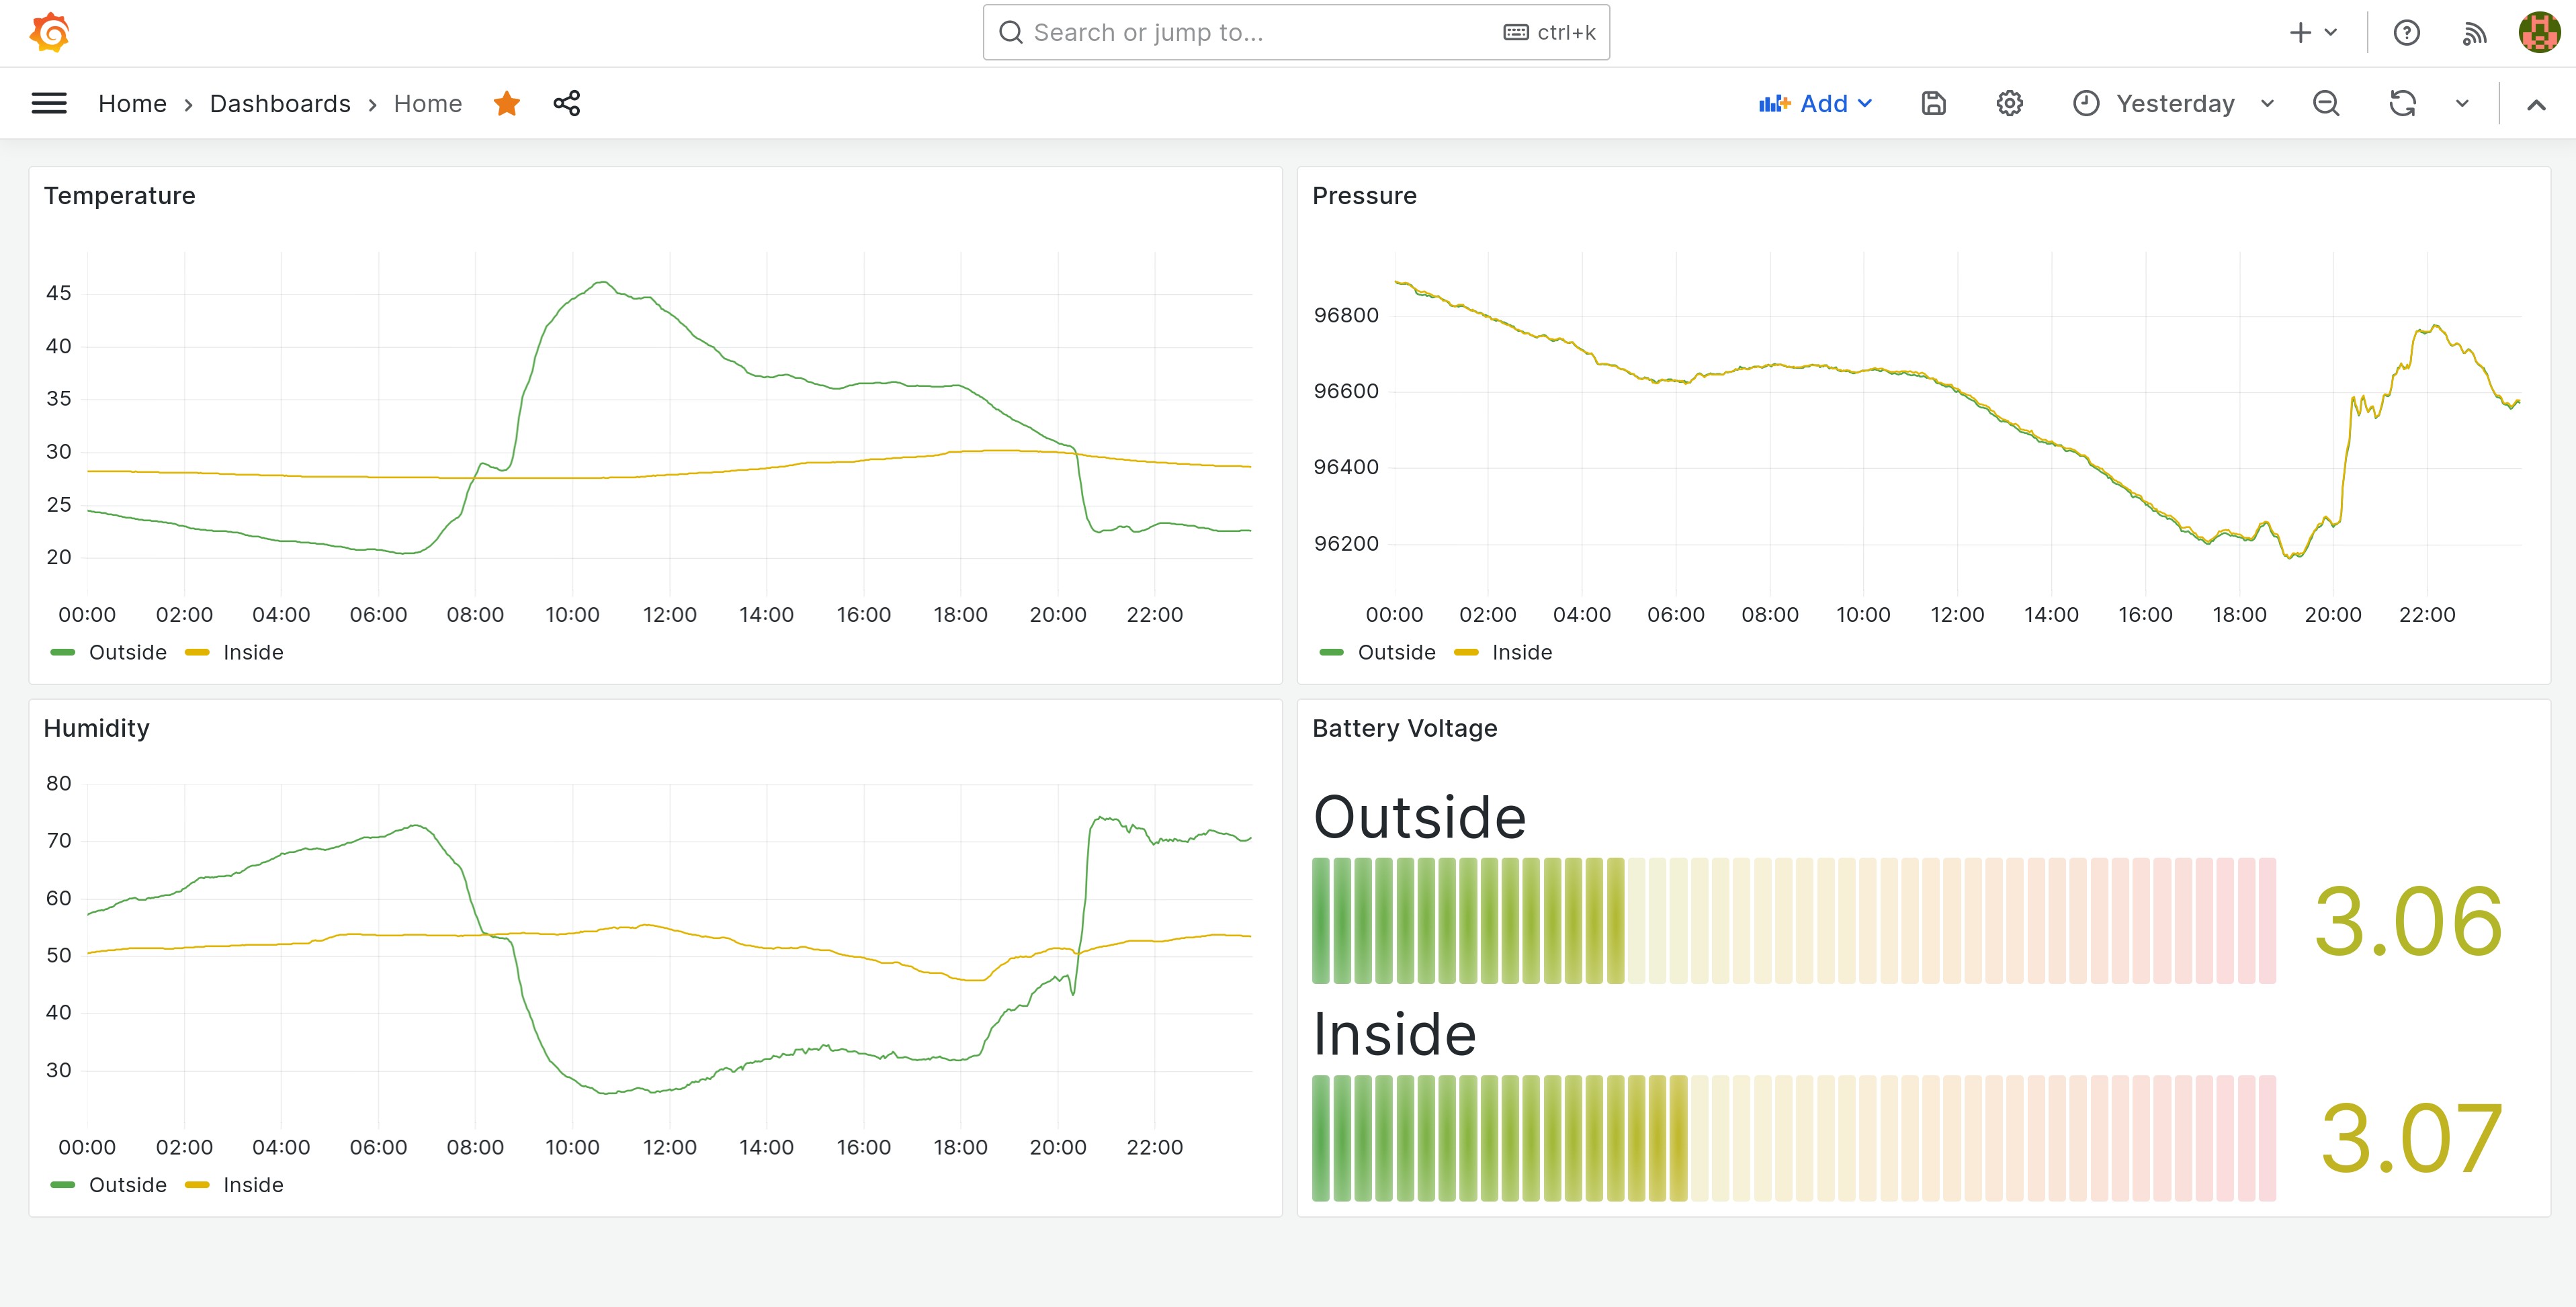
In the following picture you can see he finished Grafana Dashboard:
Conclusion
All in all this is a very fun project and I am impressed by the Ruuvi Tags. Excellent value for the price - they work flawlessly and having both tags next to each other shows very similar readings. I might purchase some more in the future.
Have any feedback?
Please feel free to send me a mail! I would love to hear from you.